Best Tapestry Loom for Beginners: How to Pick Your First
A frame loom under $50 is the right first tapestry loom for almost everyone. The honest tier breakdown, a verified comparison table, and your first projects.
A simple frame loom under $50 is the right first tapestry loom for almost everyone. You do not need a tensioning device, a shedding bar, or a stand to learn weft-faced weaving. Buy a notched or pegged wooden frame, a tapestry beater or kitchen fork, and a cone of warp thread, and weave your first wall hanging this week.
The looms with all three features cost five to ten times more, and you should step up to a tensioned professional loom like a Mirrix only once you are weaving regularly and want finer setts or bigger pieces. This is the single most common mistake in the niche: a beginner reads that “real” tapestry weavers use Mirrix looms, spends $300 before weaving a single row, and then learns that the loom was never the hard part. Tension control and weft handling are the hard parts, and you learn those on a $30 frame. What follows is the honest tier breakdown, a comparison table of looms verified live in June 2026, your first three projects sized out with real yarn quantities, and what beginners actually struggle with, straight from the people who teach this craft for a living.
Is a frame loom or a rigid heddle loom better for beginners?
Answer the fork first, because it decides everything else. A frame loom and a rigid heddle loom make different things, and buying the wrong one is the costliest error in this whole category.
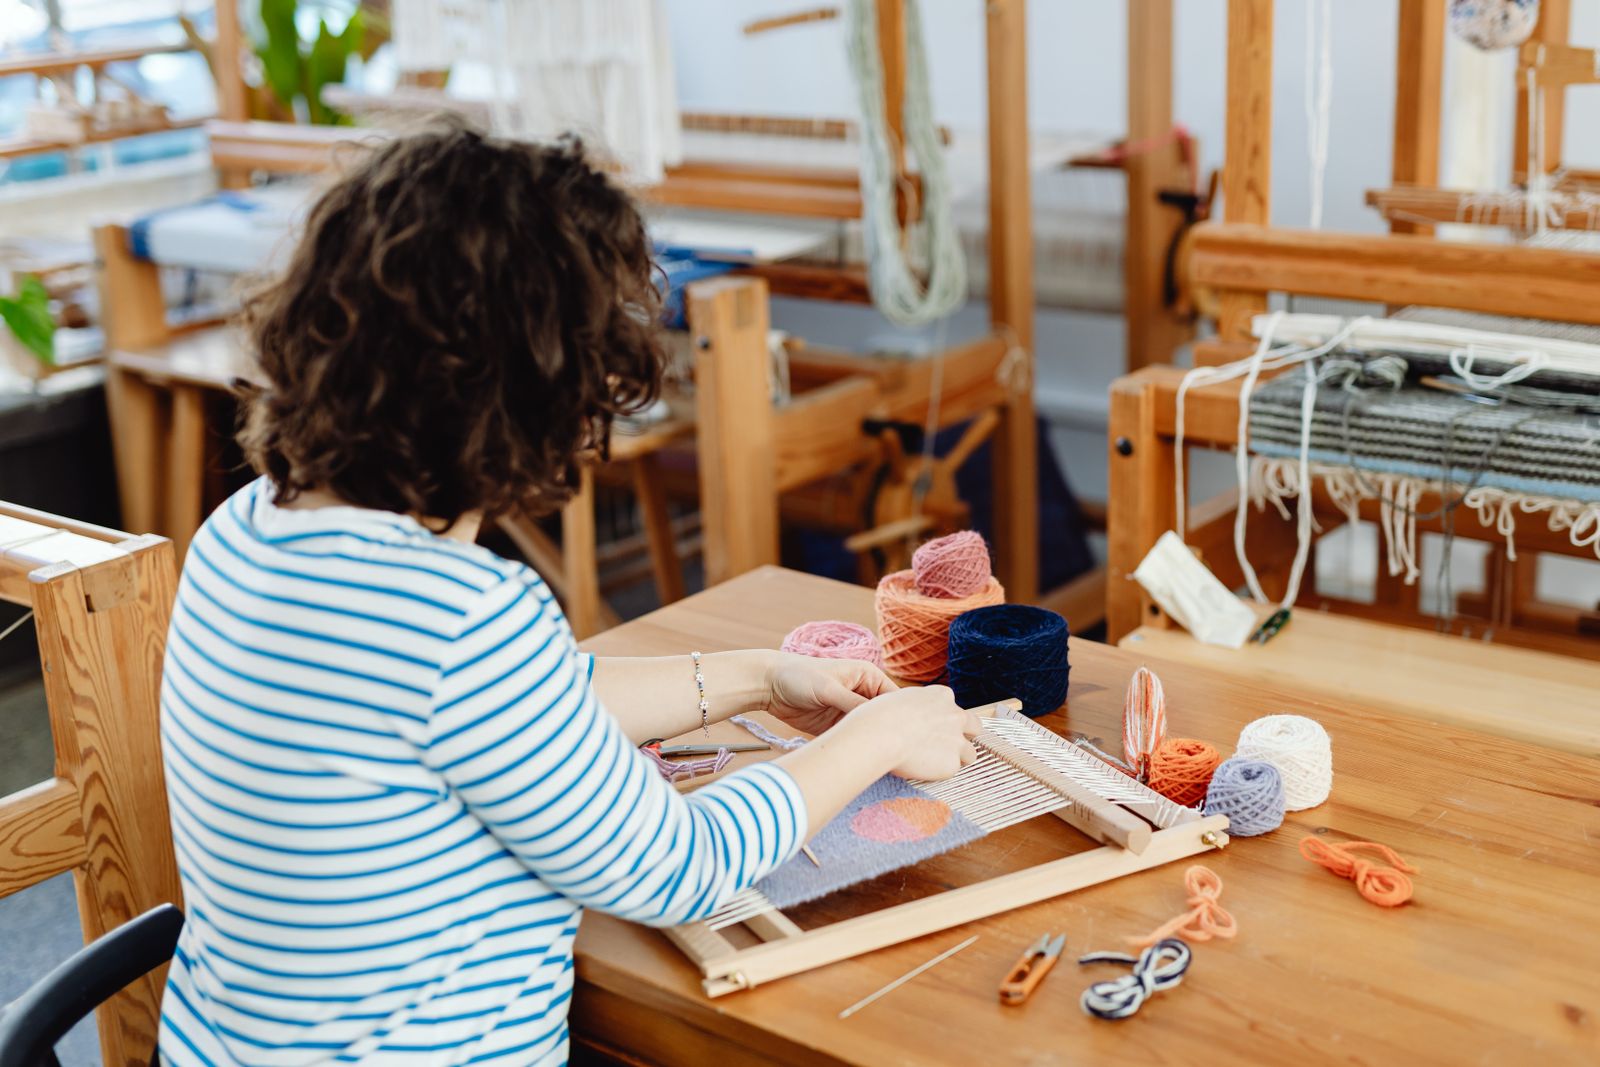
A frame loom is for tapestry: weft-faced imagery, where the colored weft completely covers the warp and you build a picture row by row. It is slow, meditative, and the output is art you hang on a wall. You change colors constantly, you beat the weft down hard, and a small piece can take many evenings.
A rigid heddle loom is for cloth: balanced weave where warp and weft show equally, made into scarves, towels, and yardage. It is faster, the heddle changes the shed for you, and the output is fabric you wear or use. If your goal is a handwoven scarf by the weekend, you want a rigid heddle loom, and our Schacht Cricket review is where to start. The full category comparison lives in rigid heddle vs floor loom.
So the real question is not “which loom is better.” It is “which wave are you riding.” The Instagram wall-hanging wave that brought a million new people to weaving since 2018 is the tapestry wave, and a frame loom is its entry point. If that is you, read on.
How much should a beginner spend on a tapestry loom?
Plan on $20 to $50 to start. Tapestry looms run from a $20 board to a $2,000 floor loom, and the price ladder is not the quality ladder a beginner assumes it is. Here is what each tier actually buys.
Bare frames and lap looms ($20–$85). This is where you should start. A frame loom is, at its simplest, four pieces of wood with a way to space the warp. The cheap import kits (the KISSBUTY wooden weaving frame, the CYCHIRV kit, and a dozen near-identical wooden frames on Amazon) include a frame, a heddle bar or shed stick, a comb, a shuttle, and a starter skein for $20 to $40. They work. The criticism, fair enough, is that the warp spacing is fixed and the wood is soft, so you cannot weave fine setts and the frame can flex under high tension. The step up inside this tier is a maker-built frame: the Schacht Lilli Loom ($82) is solid maple with no-slip plastic teeth that warp at 6 or 12 ends per inch, and Schacht includes a beater, shuttle, pick-up stick, shed stick, and weaving needle. The Ashford Weaving Frame ($65) is Silver Beech in two sizes (13”x9” small, 27”x19” large) with turned tapestry bobbins. Both are looms you keep, not looms you replace.
As an Amazon Associate, Wool Hall earns from qualifying purchases.
Notched, pegged, and continuous-warp frames. The detail that separates frame looms is how they hold the warp, and it changes what you can do:
- Notched frames have saw-tooth notches cut into the top and bottom rails. The notch spacing fixes your sett (often 6 or 8 epi). Simple, sturdy, the most common cheap design.
- Pegged frames use a row of pegs or pins, like the Schacht Lilli’s plastic teeth, sometimes letting you warp at two spacings (6 or 12 epi on the Lilli). A little more flexible.
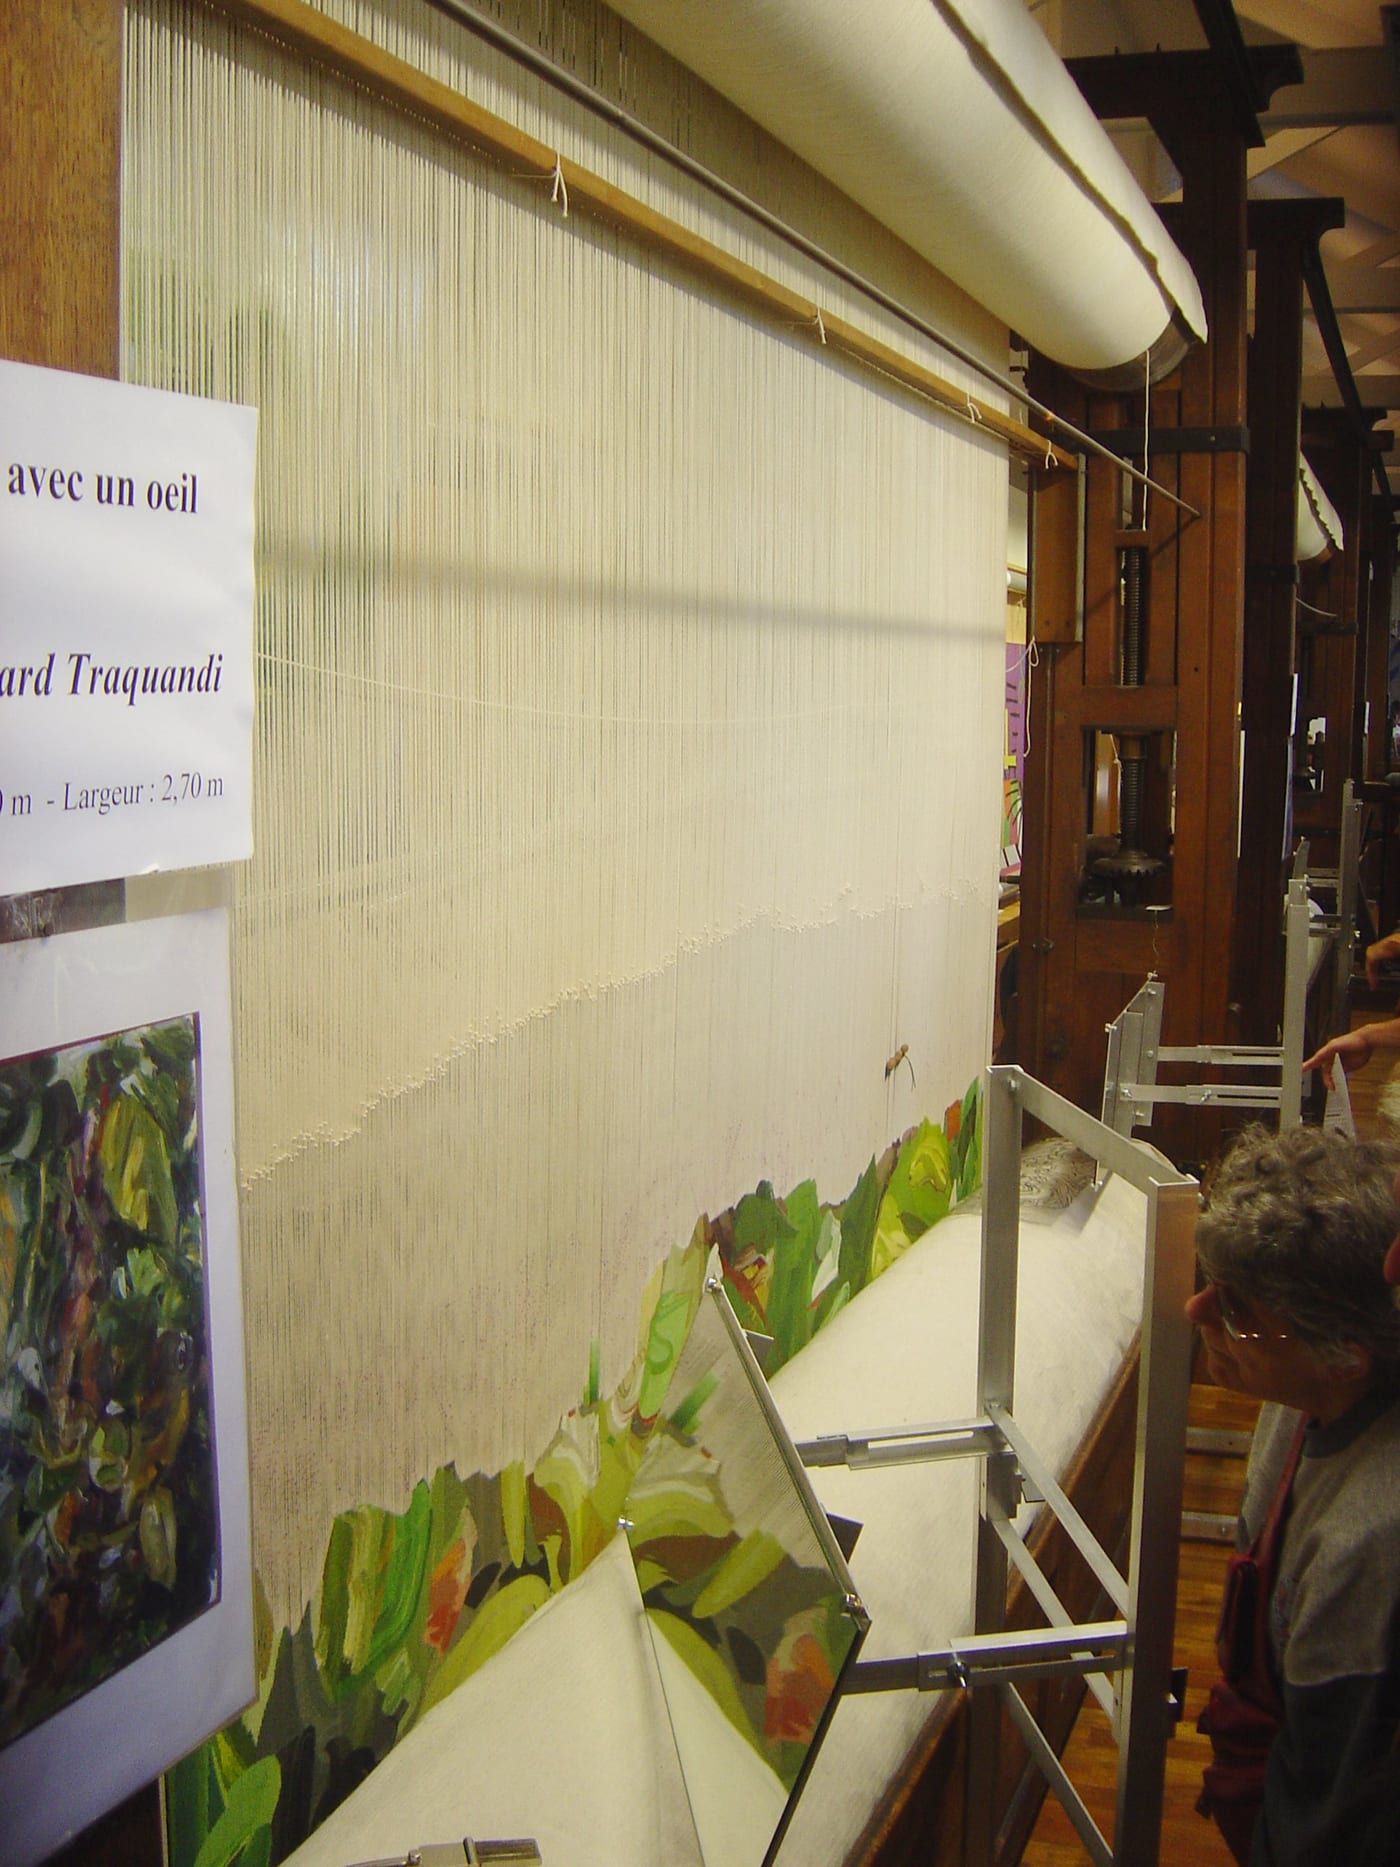
- Continuous-warp frames let you wind one long warp around the frame so the finished piece can be longer than the loom is tall, by advancing the warp as you weave. This is the feature that distinguishes serious frame looms and the entry-level Mirrix models from a plain notched board.
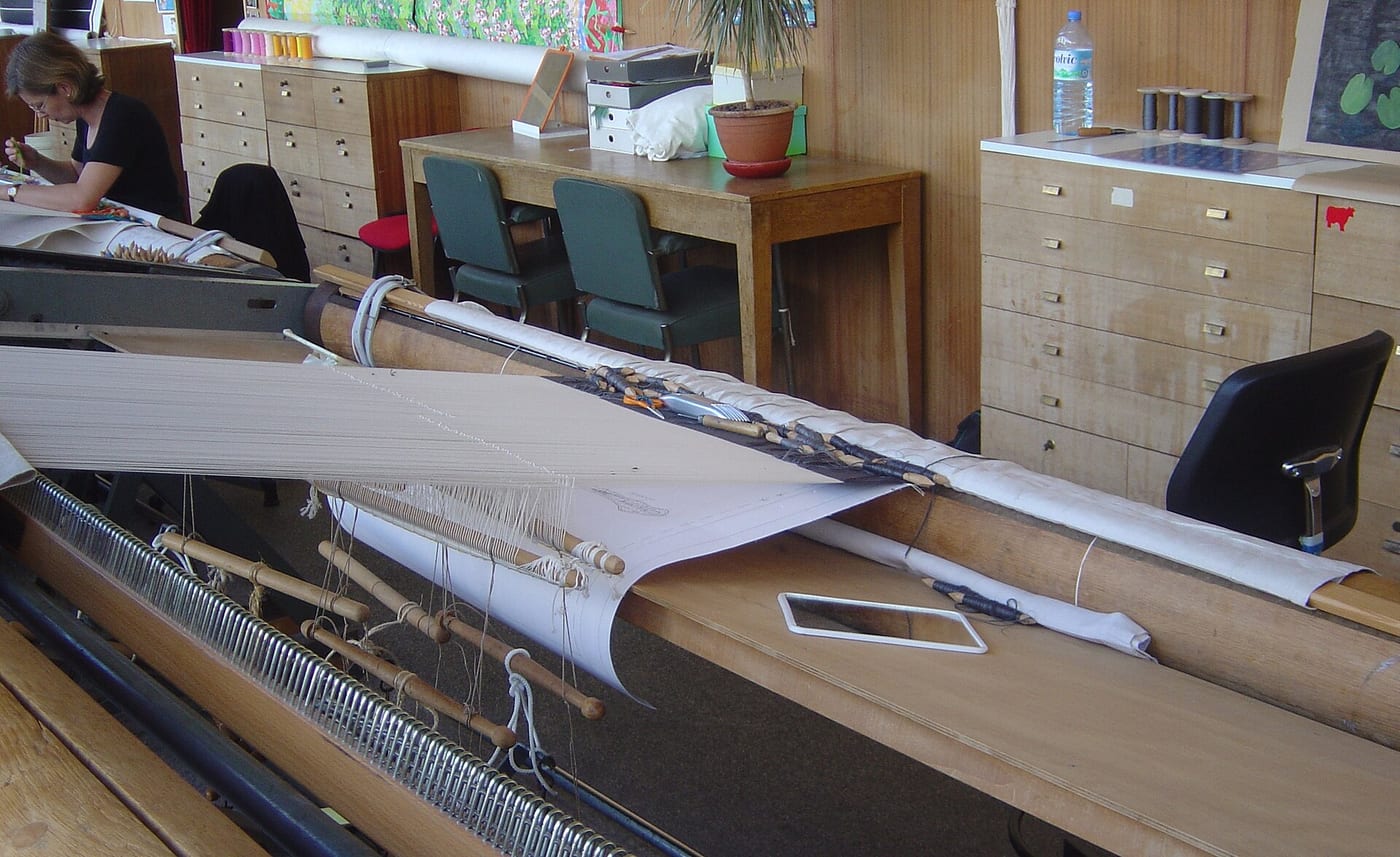
Stand-mounted and larger frames ($150–$200). Schacht’s standalone Tapestry Loom weaves up to 25 inches wide and 60 inches long, comes with four heddle bars for faster shed changes, and runs about $187. This is the tier for someone who knows they want to weave full-size tapestries and wants a real beating edge and shed system, but does not need a tensioning device.
Tensioned professional looms (Mirrix, $140–$495). Mirrix, built in Sturgeon Bay, Wisconsin, makes the looms this niche treats as the gold standard. The difference is tension: a Mirrix has threaded rods and wing nuts that crank the warp to high, even tension and hold it there, which is exactly the property that makes fine-sett and large tapestry feasible. They are not beginner looms in the sense that you should not start here, but they are not exotic either. The lineup runs from the 5” Chloe pocket loom at $140 up to the 32” Joni at $495, verified June 2026.
| Mirrix model | Width | Starting price |
|---|---|---|
| Chloe pocket loom | 5” / 8” / 10” | $140 / $160 / $200 |
| Lani | 8” | $250 |
| Little Guy | 12” | $270 |
| Big Sister | 16” | $315 |
| Deb | 19” | $390 |
| Zach | 22” | $405 |
| Joni | 32” | $495 |
The “use your rigid heddle as a tapestry loom” answer. If you already own a rigid heddle loom, you can weave tapestry on it. Kelly Casanova and Schacht’s own archive both confirm it: warp it normally, weave weft-faced, and beat with a fork or tapestry beater because the reed does not pack weft tightly enough on its own. It works for small pieces and saves you buying a second loom to try the craft. The honest limit, which tapestry instructor Rebecca Mezoff states plainly, is that rigid heddle looms have small beams and “don’t hold a very high tension,” so they make learning tapestry harder than a frame loom does. Try it if you have one. Do not buy one specifically for tapestry. Our Schacht Cricket review covers that crossover in its what-can-you-weave section.
How do the top tapestry looms compare?
The table below lays seven looms side by side across the tiers, with every spec and price verified live in June 2026. “Tensioned” means the loom has hardware to set and hold high warp tension; frame looms rely on how tightly you warp them.
| Loom | Type | Weaving area | Tensioned | What’s included | Price | Who it’s for |
|---|---|---|---|---|---|---|
| KISSBUTY frame loom | Notched wood frame | ~9.9 x 15.7” | No | Frame, heddle rod, comb, shuttle, starter yarn | ~$20–30 | Absolute first try, kids, classroom |
| CYCHIRV loom kit | Wood frame + heddle bar | 15.2 x 9.85” | No | Frame, heddle bar, tools | ~$20–35 | First try with a heddle bar |
| Ashford Weaving Frame | Beech frame | 13x9” or 27x19” | No | Frame, 2 tapestry bobbins | $65 | A keeper frame, two sizes |
| Schacht Lilli Loom | Maple peg frame | 10 x 15” | No | Loom, beater, shuttle, pick-up + shed stick, needle | $82 | Best-value first real loom |
| Mirrix Chloe (8”) | Tensioned pocket loom | 8” | Yes | Loom, shedding device | $160 | Portable, your first tensioned loom |
| Schacht Tapestry Loom | Large frame + heddle bars | up to 25 x 60” | No | Loom, 4 heddle bars | $187 | Full-size pieces, no stand needed |
| Mirrix Big Sister (16”) | Tensioned upright | 16” | Yes | Loom, shedding device | $315 | Committed weaver, fine setts |

Two reads from that table. First, the gap between a $30 import kit and an $82 Schacht Lilli is the difference between “works for a few pieces” and “works for years,” and it is only $50. If you are even slightly sure you will keep weaving, start at the Lilli or the Ashford frame, not the cheapest kit. Second, the jump to a tensioned Mirrix is real money for a real reason, but it is a second-loom decision. Spend the first $50, weave six pieces, then decide.
What warp and sett do you need for tapestry?
Use a strong, smooth, low-stretch warp at 6 to 8 ends per inch (epi) for beginner work. The warp is the foundation, and it is also where cheap kits cut corners. Cotton seine twine is the standard, in a weight matched to your sett. That 6-to-8-epi range suits chunky yarn, going finer as your control improves. The notch or peg spacing on your frame sets a default, which is why a fixed-notch loom at 8 epi is a fine place to start and a finer sett is a reason to graduate to an adjustable loom later.
What separates a good beginner kit from filler:
- Good: a strong cotton warp (or clear guidance on buying one), a real tapestry beater or a usable comb, a shed stick or heddle bar, and a tapestry needle or small shuttle. The Schacht Lilli’s kit is the model here.
- Filler: a few yards of acrylic novelty yarn as the “starter” (you will outgrow it the first session), a flimsy plastic comb, and no warp thread at all, leaving you to discover mid-project that the included yarn is too stretchy to warp with.
If a kit’s photos show mostly the decorative roving and not the tools, assume the tools are the weak part and budget $15 for a proper tapestry needle and a cone of seine twine.
What should your first tapestry projects be?
Start with a coaster, then an 8-by-10-inch wall hanging, then a 12-by-16-inch panel. This is a realistic progression with sizes and yarn quantities that actually finish, computed from standard tapestry setts (8 epi warp, roughly 30 to 40 weft picks per inch for weft-faced coverage in worsted-weight wool). Treat these as planning numbers, not laws of physics; weft use varies with how hard you beat.
A coaster or mug rug (4 x 4 inches). Your sampler. About 32 warp ends at 8 epi, and roughly 25 to 40 yards of weft wool total across two or three colors. One evening. The goal is not the coaster; it is feeling what even tension and consistent beating do.
A small wall hanging (8 x 10 inches). About 64 warp ends, roughly 120 to 180 yards of weft across your palette, plus a dowel to hang it from. A weekend, or a week of evenings. This is where you meet edge draw-in for real and learn to fix it.
A larger panel (12 x 16 inches). About 96 warp ends, roughly 350 to 450 yards of weft. Several weeks. By the end of this one you will know whether you want a tensioned loom, and you will have earned the opinion.
Notice the warp math is simple: ends equal width in inches times your sett. A 12-inch piece at 8 epi is 96 ends. Knowing that one formula saves you from both overbuying yarn and running out mid-row.
What do beginners struggle with most in tapestry?
The loom is rarely the problem. Edge draw-in, weft tension, yarn choice, and keeping warp tension on the frame are the real first hurdles. Listen to the teaching weavers (Rebecca Mezoff’s instruction blog, the Fibers and Design beginner-mistakes piece, and the SweetGeorgia and North Woven craft writeups) and the same short list of struggles comes up every time, and none of them is fixed by buying a more expensive loom.
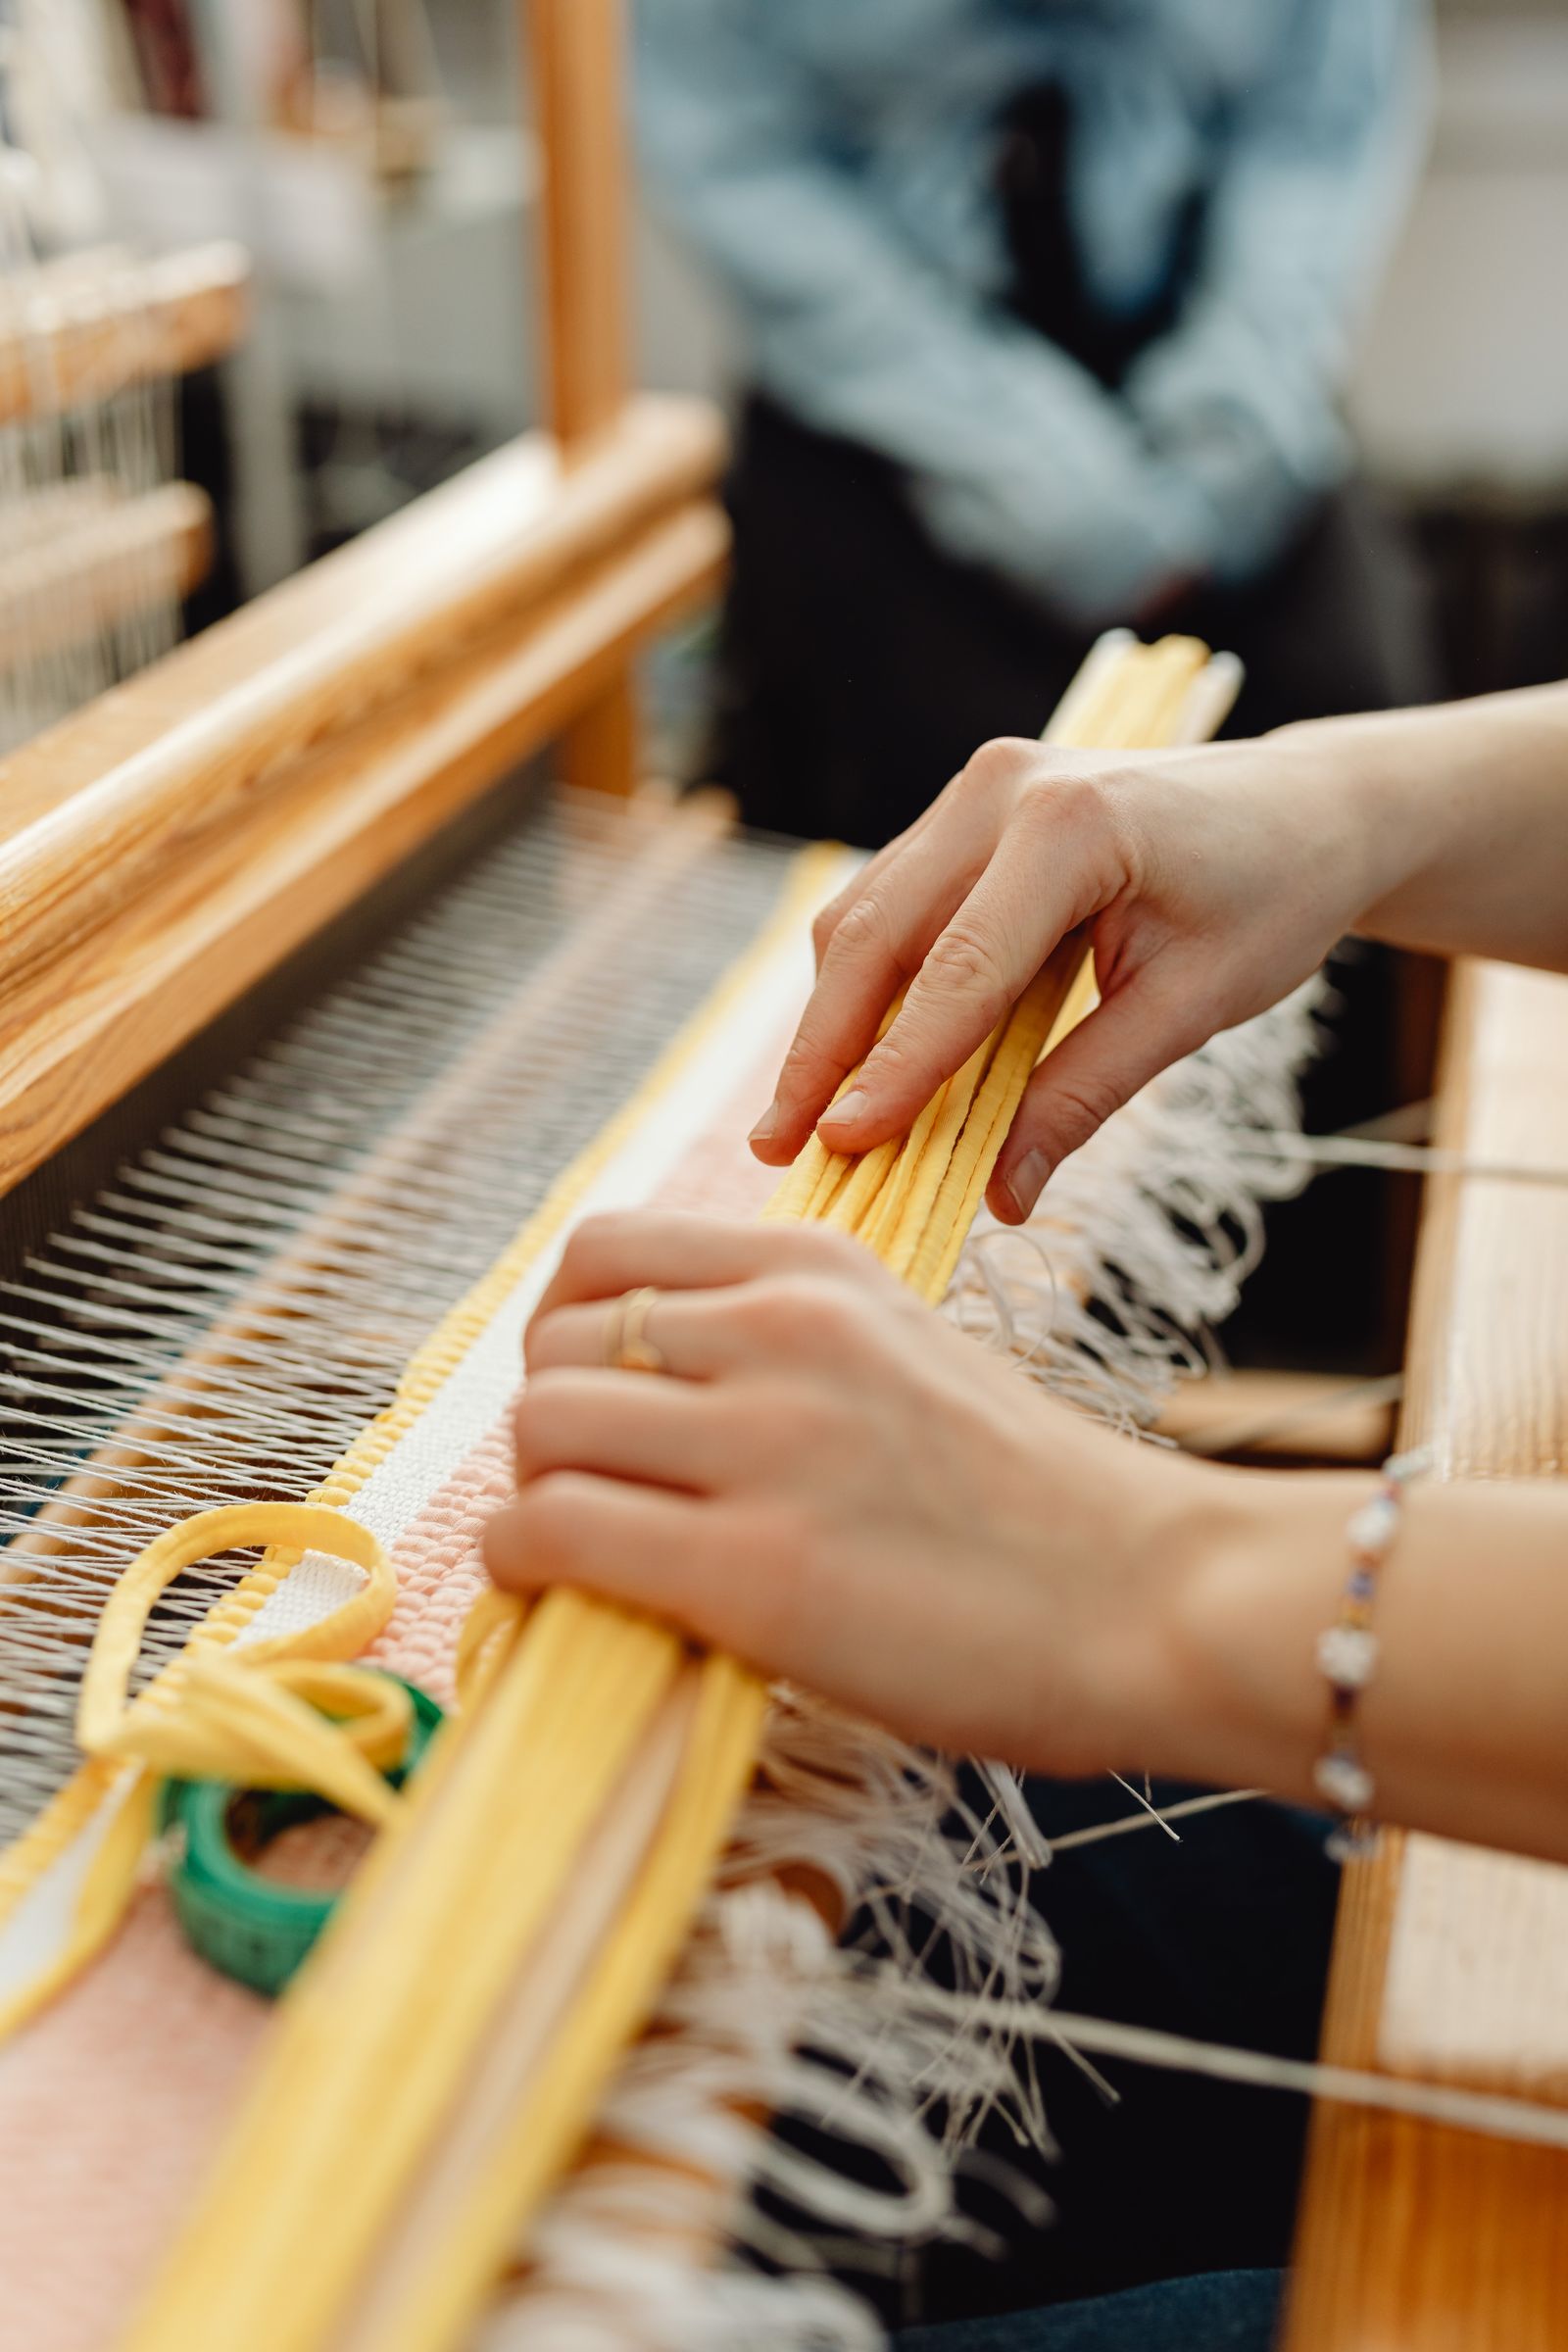
Edge draw-in is the universal first problem. Mezoff and Fibers and Design both name it before anything else: your rectangle starts pinching into an hourglass because the weft pulls the outer warps inward as you pack each row. The fix is not the loom; it is technique. You “bubble” the weft, pulling it through at an upward arc and leaving slack before you beat, so the weft has enough length to travel over and under without cinching the sides. Every new weaver does this wrong for the first few pieces. Everyone fixes it with practice.
Weft tension is the deeper version of the same issue. “Weft tension is what controls warp spacing,” as Mezoff puts it, and it is “probably the biggest problem new weavers have.” Too tight and the warps compress and the weft cannot cover; too loose and you get gaps (weavers call them “lice”). The cure is the same bubbling-and-packing discipline, applied consistently.
Yarn choice wastes money and patience. A recurring waste is grabbing knitting yarn from the stash because it is pretty and on hand. It is usually too stretchy or too smooth for good tapestry, and switching materials mid-learning hides whether your technique is improving. Pick one appropriate tapestry yarn and stay with it while you learn.
Warp tension on the frame. On a frame loom without tensioning hardware, the warp loosens as you weave, which is exactly the property a Mirrix’s wing-nut tensioning solves. On a frame loom you manage it by warping tightly and evenly to start and re-snugging as needed. This is the single best argument for eventually moving to a tensioned loom, and the single best reason not to buy one until the technique problems above are behind you.
On kit quality: the consistent owner report on the cheap Amazon frames is that they do the job but flex under high tension and limit you to coarse setts, which is precisely why the craft’s teachers point beginners at either a $30 starter to test the waters or a maker-built frame like the Lilli to commit. Neither group regrets the choice. The people who regret a purchase are the ones who spent $300 on a Mirrix before learning to bubble the weft.
Where to go next
Start cheap, weave six pieces, and let the work tell you what to buy second. If you find yourself wanting finer setts, bigger pieces, or just tired of re-tensioning a frame, the Mirrix loom review covers the tensioned tier in depth. If the tapestry bug turns into a cloth-weaving bug, the best rigid heddle loom roundup and the Schacht Cricket review are the next doors. And whatever loom you land on, your first warp is the same: width times sett, warped tight, bubbled loose.